
Reality 3! Previously, when posing the 3D possibilities, I wanted to “refresh and retrain myself from Poser 9 to 10”. So I started with a simple “less is more” render – default ground, single human figure, and single car. I also hoped to “become more fluent with Poser, Reality, and LuxRender” and “experiment with different outdoor sets, lighting effects, and of course, sports cars!” Well, I’m back.
Although my initial test renders with Reality 3 and LuxRender 1.3.1 achieved a much higher level of realism, much more realistic than my Poser 9 and 10 Firefly renders, I still wasn’t satisfied. If you take a look at these test renders, certain elements like glossiness and reflectivity were a bit lacking, namely on the Nissan GT-R exterior. In fact, the windshield and side windows appear to be missing!

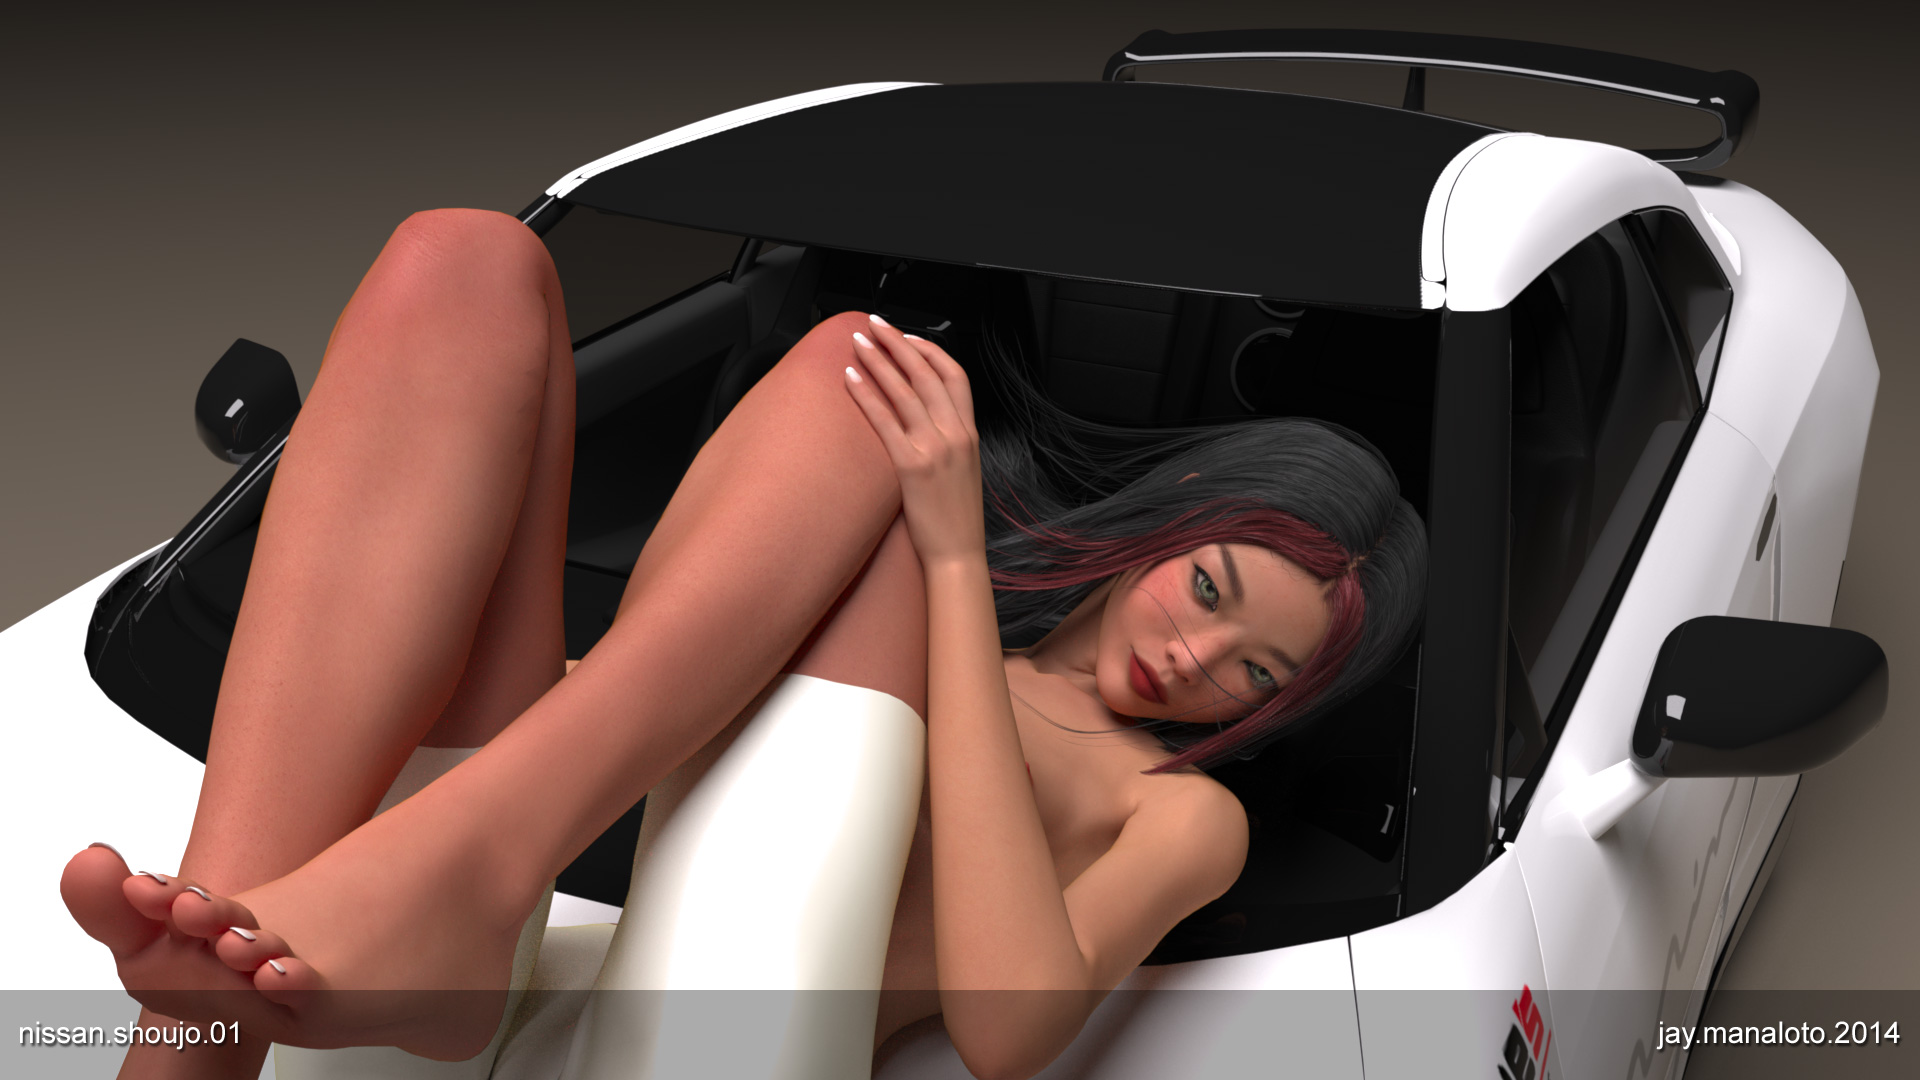
Reality 3 (fictional splash screen)
Hi, my name is Jay, and I’m an IBM TRIRIGA information developer at IBM. So what was my next 3D project? No, not new outdoor sets or new sports cars. At least, not yet. This time, I chose to play with more realistic lighting effects. No, I didn’t add any new Poser image-based lighting (IBL) or new Reality mesh lighting. Instead, I played with the Reality 3 material properties on the GT-R. Why?
Why the material properties?
After I noticed the lack of glossiness and reflectivity on the Nissan GT-R exterior surfaces, I found those property settings on the Materials tab of the Reality for Poser screen. Then for each visible exterior object or material of the GT-R model, I verified that the Type was set to Glossy and raised the Glossiness from the default dullness of 7000 to the maximum polish of 10000. Pretty simple.
Actually, if I could request a future enhancement, I’d love to see one or two new Glossiness column in the table so I could select multiple objects and right-click them to 10000 simultaneously. That would be an awesome time-saver. Fortunately, I had less than 20 exterior materials to set. Also, without knowing any better, I mistakenly kept the default setting for the glass objects on Glossy.
Oops, one correction about the multiple edit. According to the Reality User’s Guide, you can use “multi-edit” by selecting multiple objects and then changing any material property like Glossiness in any of the objects to change all of them. Which is awesome. But I’d still love to see an enhanced table with Glossiness columns, and maybe Reflection and Transmission columns for Glass objects.

Reality 3
What happened to the glass objects?
With Glossiness set to 10000, the overall exterior of the Nissan GT-R looked much more realistic! Just like the high-level polish of a high-end GT-R. Sadly, the windshield and side windows were still missing! The first reason was the Type setting. Instead of keeping the default setting of Glossy, I researched online and realized that I should manually reset the Type to Glass. Which makes sense.
Here are a couple of life-saving forum answers to a couple of glass-related Reality questions.
- DAZ 3D: Goggles’ glass won’t render right! (26 Mar 2013)
In Reality when you change a material to glass the options below include check boxes for Architectural and Hyper-Realistic. Architectural Glass is a Lux material in which refraction is disabled. This isn’t realistic for thick glass, gems, etc., but for thin glass like an average window it’s fine and will render much faster. If you saw my render of the Mini Cooper in the Biased v Unbiased thread, that uses Architectural for the car windows and you can see that it works pretty well for that kind of use. It should be fine for eye glasses and shades, unless you are going for a close up with very thick lenses.
- Runtime DNA: Eyeglasses in Reality (21 Apr 2014) (two comments combined for clarity)
Glass needs to be set to Glass. Using Glossy is a mistake. The whole point of using Reality and LuxRender is to get realistic materials and Glossy with an alpha map is not as good as real glass. If you don’t want a lot of refraction then you have two choices:
- Use architectural glass… Check your alpha channel. Architectural glass is not invisible. You need to have the reflection and transmission channel set to pure white. The Alpha strength must be 1.0 and no alpha map.
- Use real glass but lower the IOR, it’s there exactly for this… An IOR of 1.0 will give you no refraction. Add a little more, like 1.05 to get a bit of the effect. Dial the IOR until you get the right distortion.
The second reason why the windshield and side windows were still missing was my confusion with the objects and materials in the table. Instead of focussing on the GT-R “Glass” item, I should’ve scrolled down and focussed on the GT-R “Mapped_glass” item. Lastly, the third reason was the 3D position of the mesh lighting so that its reflection should appear in the windshield and side windows.
By combining all of these glass solutions, I finally perfected my Nissan GT-R windshield and side windows with the following glass settings – (1) Material Type is set to Glass, (2) Glass Type is set to Architectural to disable the refractive distortion, (3) Reflection is set to pure white (255:255:255), and (4) Transmission is set to 66.7% gray (170:170:170) to give a stylish tinted-glass look. Nice!
Here are several screenshots of my final settings. In the Camera tab, I kept the Aux Camera settings from Poser. In the Lights tab, I kept the single Reality Mesh Light settings. In the Materials tab, I set the GT-R’s Glossy items to the maximum Glossiness of 10000, and I set both Glass items with my perfected tinted-glass settings above. Finally, in the Render tab, I clicked Render Frame. Done!

Reality 3

Reality 3
Reality 3

Reality 3

Reality 3

Reality 3
How did my latest renders turn out?
To be honest, when I say “Done!”, I’m oversimplifying the full rendering process. Once I’m satisfied with my Reality 3 settings and click Render Frame, LuxRender 1.3.1 takes over. Since LuxRender never stops rendering until you choose to stop rendering, the process which might last anywhere from all night to all day depending on your scene resolution and quality preferences. Mine are high.
The Reality User’s Guide elaborates on this ever-rendering behavior in Chapter 4: Using Reality.
LuxRender does not stop automatically; it continuously refines the image until you decide to stop it. When you decide that the quality of the image is satisfactory you simply close LuxRender. The image will be saved in the location specified in the Output options, in the Render tab. By default the image is rendered to a file called reality_scene.png which is saved in your Documents folder…
4.6 The render never stops
If you are not familiar with LuxRender, the above heading might seem a bit odd. LuxRender works by collecting light samples in a endless cycle. The renderer doesn’t make the decision for us about when to stop; we stop the process when we are satisfied with the image. Many different factors can determine the time required for a satisfactory render. When we close LuxRender, the rendered image is saved on disk, in the image file that we have specified in the Render tab of Reality. In addition, LuxRender automatically saves the image every three minutes while rendering.
4.7 When is the right time to stop LuxRender?
Given that LuxRender doesn’t stop automatically at an arbitrary point, you might wonder when it is the right time to stop the render. The short answer is “when it’s good enough for you.” Until you gain more practice with LuxRender it’s impossible to give an answer to what is the acceptable level of quality, expressed in time. Each pass in the rendering process doesn’t just refine the “grain” of the image but it adds quality to the light that is simulated. For example, glass reflections will look more realistic, and subtle sheens in the materials will catch elements from the surrounding objects…
For example, in my previous post, my first 3D renders with LuxRender 1.3.1 achieved amazing results after only a couple hours. But with my 1920×1080 resolution and personal preferences, I wasn’t satisfied until the more-resistant graininess cleared up after 10 hours. Finally, I settled at 12 hours each at about 1600 and 1900 samples per pixel, respectively. Definitely worth the hours!

LuxRender 1.3.1 render with default Reality 3 material settings

LuxRender 1.3.1 render with default Reality 3 material settings
To be clear, my PC isn’t weak. In another previous post, I described how my sexy Windows 8.1 CyberPowerPC Gigabyte X79 gaming PC ran a next-generation game like Assassin’s Creed IV: Black Flag so smoothly! So in this case, my PC silently ran LuxRender in the background while I simultaneously checked emails, watched videos, drafted posts, or left it alone to render overnight.
By comparison, with my new Glossy and Glass settings, my latest 3D renders of the same scenes didn’t satisfy me until the more-resistant graininess cleared up after 20 hours. This time, I settled at 24 hours each at about 3200 and 3800 samples per pixel, respectively. I suppose I’ve become accustomed to the long render times. Or maybe I’ve become addicted to such glossy realism!
LuxRender 1.3.1 render with updated Reality 3 material settings

LuxRender 1.3.1 render with updated Reality 3 material settings
Finally, for my third angle of the same scene, I maximized the effect of my new settings by moving the overhead mesh lighting from the slight foreground to the slight background, and repositioning the camera to capture the maximum glossiness and reflectivity on the Nissan GT-R, especially on its black elements and tinted windshield. I love the dramatic and realistic depth in the shadows too!
In this third case, I wasn’t satisfied until the more-resistant graininess cleared up after 30 hours. So I settled at 40 hours at about 6000 samples per pixel. Admittedly, I relied on some Adobe Photoshop post-work to smooth out the stubbornly lumpy pixels. But once again, the rendered 1920×1080 result is astounding, even with a simple single-human plus single-car scene. Such unreal realism!

LuxRender 1.3.1 render with updated Reality 3 material settings
What are my final thoughts?
As I grow more comfortable with the strengths, limits, and personalities of Reality 3 and LuxRender 1.3.1, I’ve no doubt that I’ll also grow more confident and fluent in composing 3D scenes in Poser 10. I’ve learned so many Reality and LuxRender tips and tricks already and this is still basically my first main scene since installing Poser 10. Did you know you can open two LuxRender windows?
For example, I might pause one LuxRender render in one window, and after tweaking a few Poser or Reality settings, I might start a second LuxRender render in another window to compare them side by side. If I like the first render, I just close the second window and resume the first render. Or if I like the second render, I just close the first window and let the second render run. Pretty cool trick.
After I paused the first render, it sometimes took a few attempts for the first settings to clear before I opened the second window. So I learned to wait a few moments before I clicked Render Frame. In any case, whether I discover tips like “undistorted” Architectural glass from the forums, “multi-edit” from the user’s guide, or multiple LuxRender windows from my exploration, I’m enjoying this 3D ride!
With this 3D odyssey in mind, here’s a final inspirational article about the 3D industry in general.
According to this report from MarketsandMarkets, the 3D industry in total is projected to double from its current size today of $20+ billion to $40 billion in 2019. We’re admittedly a small slice of pie with Poser’s artist/users and with Poser’s surrounding ecosystem of content and add-ons. Regardless of the size of Poser’s footprint on the overall landscape of 3D, it’s a very good place to have staked a claim, and it’s still a very good time to be learning 3D through Poser.
What’s my next 3D project? Time for some new colors, complexity, and coolness. I’ll see you then!
Related articles
- Preview of Reality 3 for Poser (www.youtube.com)
- LuxRender User Documentation (www.luxrender.net)
- Getting started with Reality 3 for Poser (www.youtube.com)
- jaymanaloto’s deviantART gallery (jaymanaloto.deviantart.com)
